Manage revisions and locks
Once a script goes into production, you can lock its scene numbers and pages so they stay stable, then issue colored revisions — white, blue, pink, and so on — that everyone can download. You manage these in the screenplay's settings.
To issue revisions, follow the tasks on this page in order: choose Issued revisions, lock scene numbers, lock pages, then issue a revision.
Open the screenplay settings
- In a project, click Screenplays in the sidebar.
- Click on the screenplay, then choose Settings.
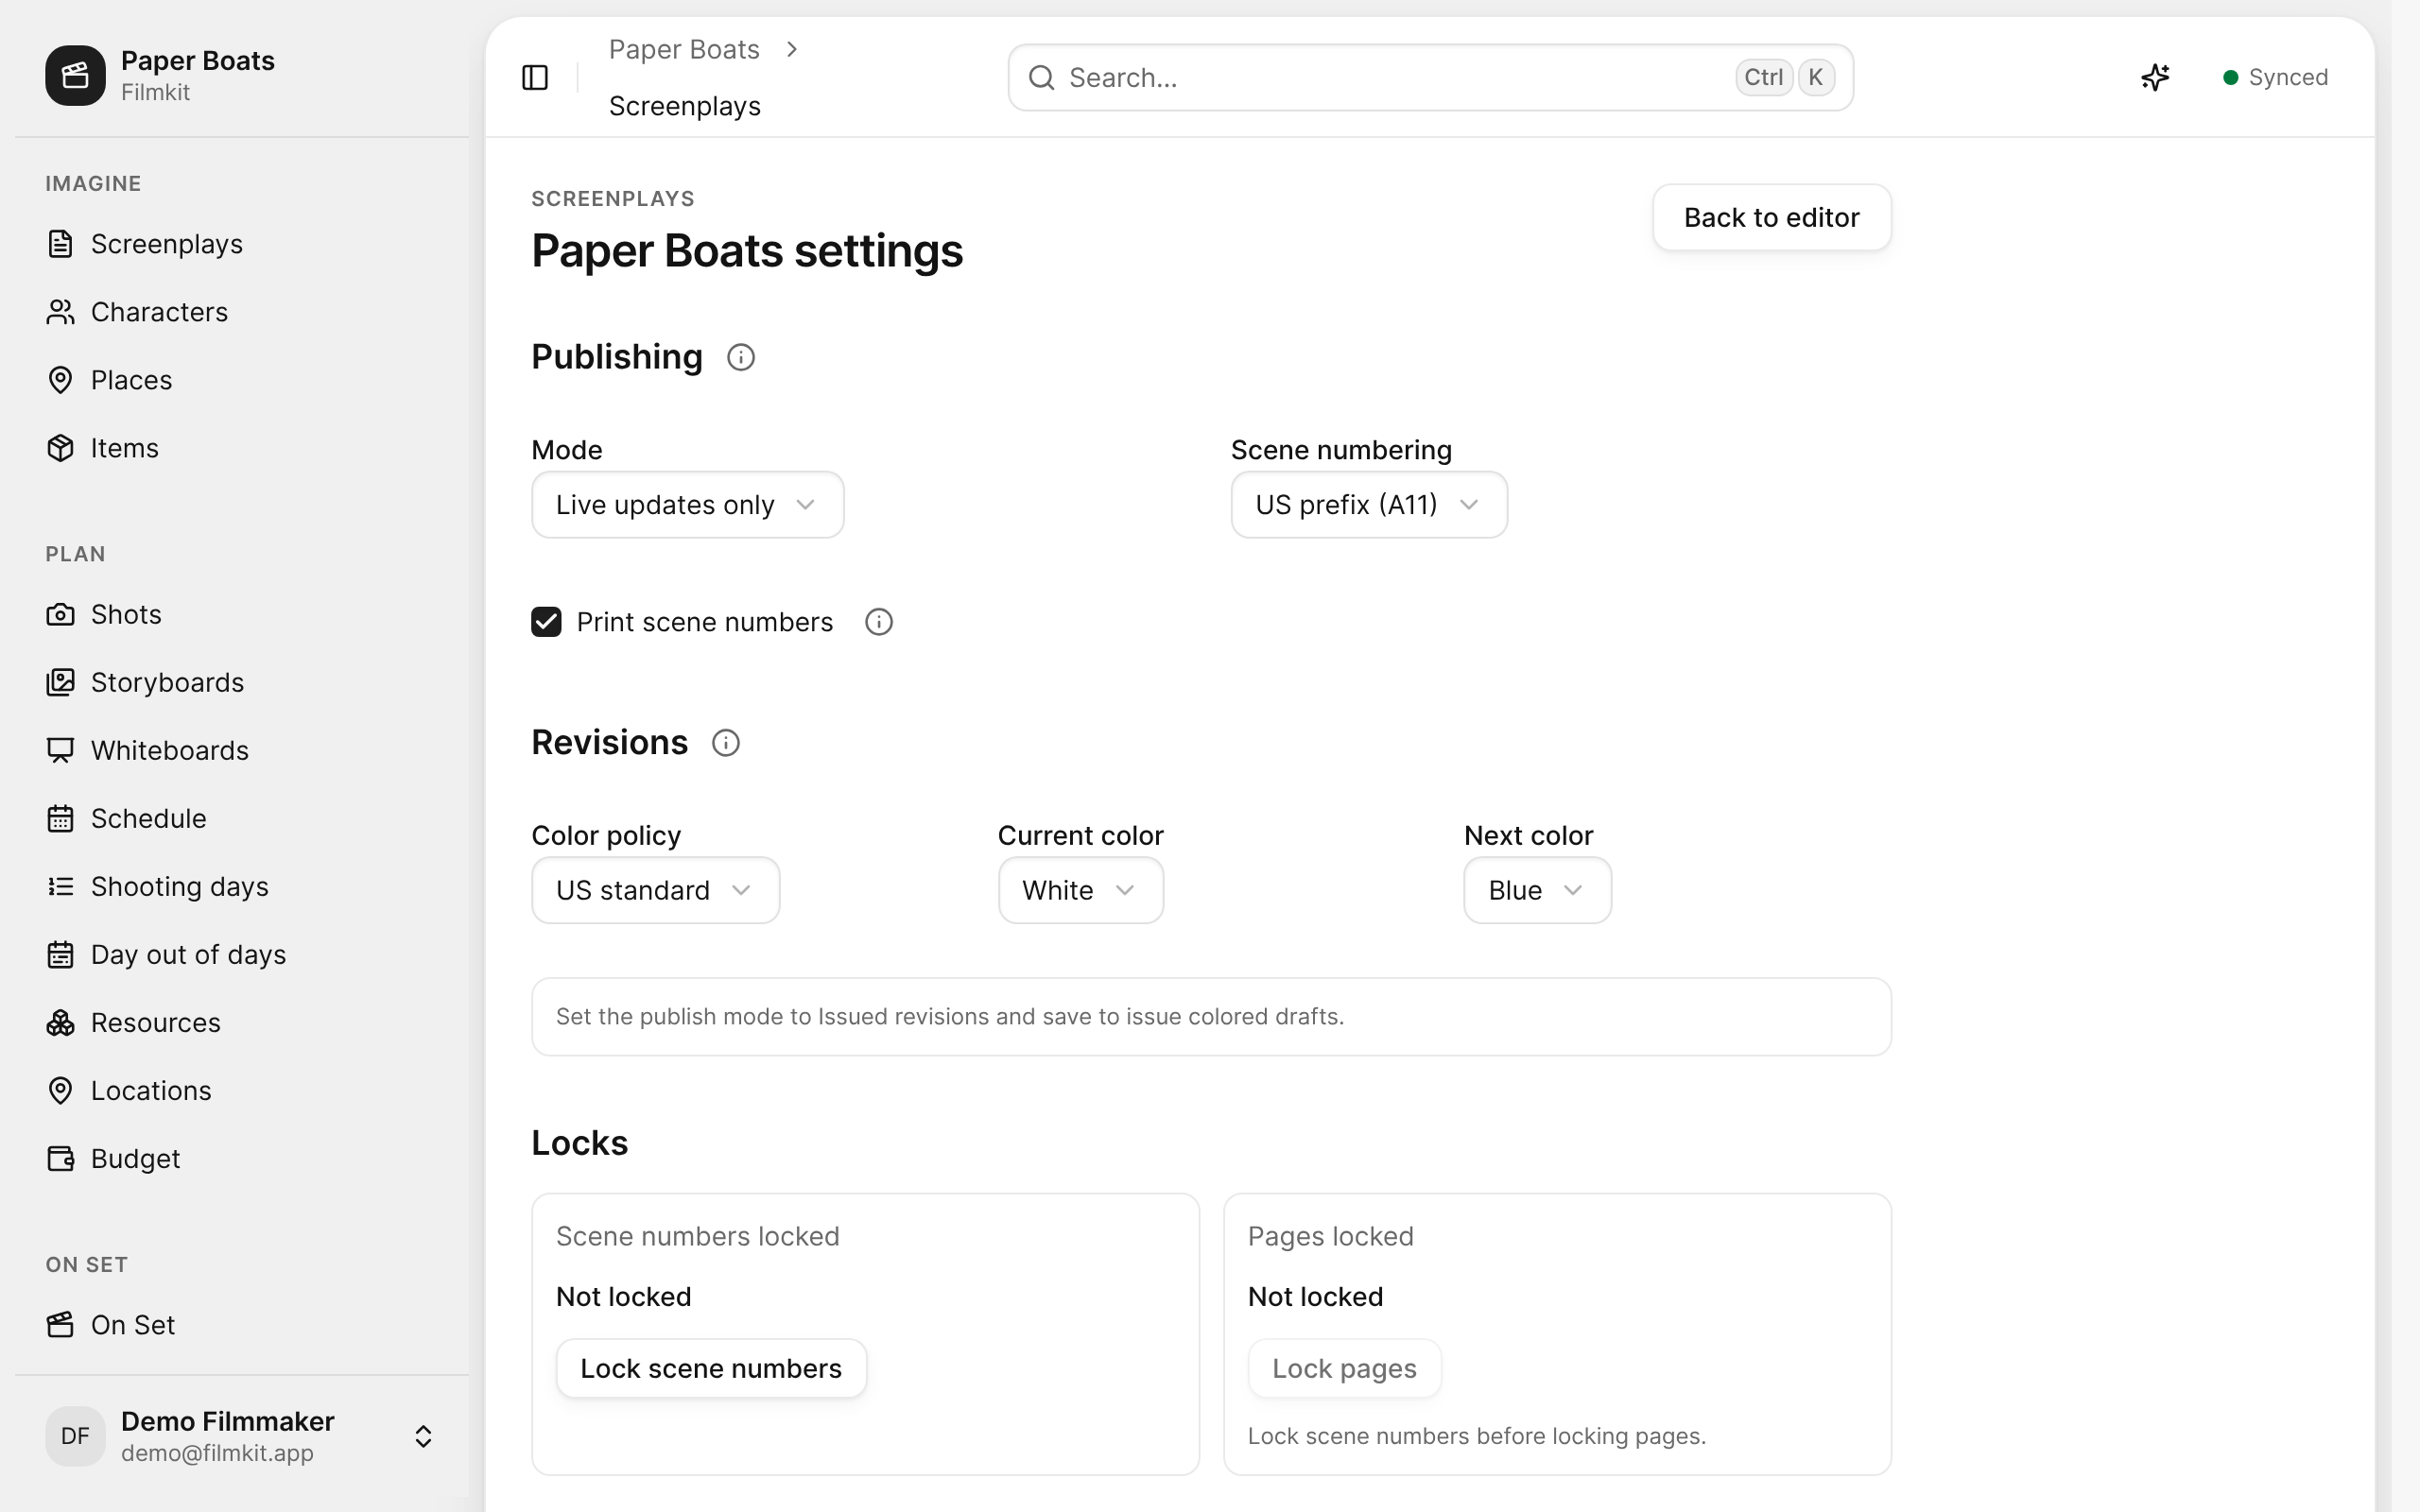
The settings for the Paper Boats screenplay, with the Publishing, Revisions, and Locks sections.

To go back to the script, click Back to editor.
Choose how the screenplay is published and numbered
- In the screenplay settings, choose an option from the Mode menu:
- Live updates only: The script stays a live document, with no formal revisions.
- Issued revisions: You can issue colored, numbered drafts to the production.
- Choose a Scene numbering style for scenes added after you lock scene numbers: US prefix (A11) or UK suffix (10A).
- Select or deselect Print scene numbers to show or hide scene numbers in both margins of exported PDFs. Spec and reading drafts usually leave them off. The scene numbering itself doesn't change.
- In the Revisions section, choose a Color policy (US standard, UK standard, or Custom), then check the Current color and Next color.
- Click Save.
Lock scene numbers and pages
- In the Locks section of the screenplay settings, click Lock scene numbers.
Each scene keeps its current number. A scene you add later gets a lettered number, such as A11, instead of renumbering the scenes after it. - Click Lock pages.
The current page breaks are fixed. If a page grows later, the extra text goes onto lettered A-pages so the page numbers stay the same.
Issue a colored revision
To issue a revision, the Mode must be Issued revisions and the pages must be locked.
- In the screenplay settings, click Issue revision.
The dialog shows the color the revision will carry and lists the project's crew. - To email the revision to people, select them under Project crew recipients. The list shows the contacts assigned to the project; people without an email address can't be selected.
Each recipient gets the issued PDF with a secure link to confirm they received it. With Watermark each copy with the recipient's name selected, each person's PDF carries their name across every page. - Click Issue revision. If you selected recipients, the button shows how many, such as Issue and send to 3.
FilmKit creates a fixed copy of the screenplay in that color and moves on to the next color. The crew can download it from the project's publications. See Publish and distribute documents.
Mark changes with revision mode
In revision mode, every change you or a collaborator type is shown in the current revision color, and the PDF prints an asterisk in the right margin beside each changed line, like Final Draft. Pages with changes also carry a revision slug, such as "Blue Rev. (10/10/26)", next to the page number.
Do any of the following:
- Turn revision mode on or off: In the editor, choose Revisions > Revision mode. While it's on, the toolbar shows the color you're revising in, such as Blue revisions; click it to turn revision mode off. You can also select Revision mode in the screenplay settings.
- Mark text you already wrote: Select the text, then choose Revisions > Mark as revised.
- Remove revision marks: Choose Revisions > Clear revision marks, then choose All colors or one color.
The Revisions menu also lists the revision colors used in the script.
When you issue a revision, the dialog asks what to do with the marks in the color you're issuing: Clear them so the issued pages become the new baseline, or Keep them.
To hand out only the changed pages, export the screenplay as a PDF and select Revised pages only. Each page keeps its real page number. If no page has a revision mark, the export stops and tells you so. To print the changed pages on colored paper, select Colored pages. See Edit the title page and export.
Omit or lock part of the script
You can mark a single element or a whole scene without deleting it.
- In the editor, click in the element or scene.
- Do any of the following:
- Omit an element: Choose Format > Element state > Omit element.
- Lock an element: Choose Format > Element state > Lock element.
- Omit a scene: Choose Format > Scene state > Omit scene.
- Lock a scene: Choose Format > Scene state > Lock scene.
You can also omit or restore a scene from its ⋯ menu in the Scenes tab of the side panel.
An omitted scene keeps its place and its number. In the PDF, it prints as OMITTED next to its scene number, and an omitted element isn't printed. In the editor, an omitted scene shows the same way, and omitted elements are hidden. To see omitted text struck through instead, choose View > Show omitted content. A bar in the margin marks locked text. Choose the same command again to undo it.