Create or import a screenplay
You can start a blank screenplay, or bring in a script you've written elsewhere. Every screenplay in a project appears in the Screenplays list.

Create a screenplay
- In a project, click Screenplays in the sidebar.
- Click Create.
- In the New screenplay dialog, enter a title.
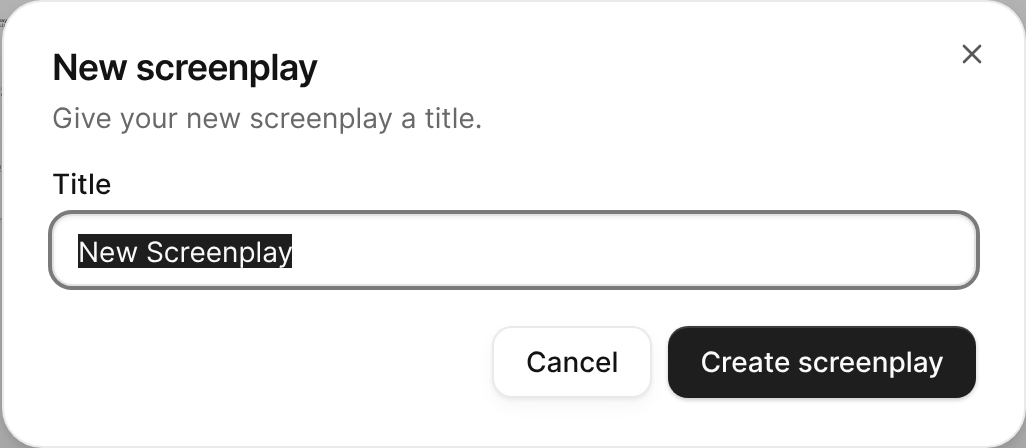
The New screenplay dialog with the Title field. - Click Create screenplay.
The screenplay opens in the editor, ready for you to write. See Write and format a screenplay.

Import a screenplay
FilmKit imports Fountain (.fountain or .txt), Final Draft (.fdx), PDF (.pdf), and FilmKit JSON (.json) files. Before anything is created, you review what FilmKit found in the file.
A PDF import reads the script's layout: scene headings, action, character cues, parentheticals, dialogue, transitions, dual dialogue, scene numbers, and the title page. Page numbers, (MORE)/(CONT'D) and CONTINUED markers are removed, and dialogue split across pages is joined back together. A scanned PDF has no text to read, so export a PDF from your screenwriting app instead.
- In a project, click Screenplays in the sidebar.
- Click Import, then choose the file.
FilmKit reads the file, then opens the Review import dialog with the number of scenes and elements it found. - Check the Screenplay title.
- Do any of the following:
- Turn uppercase lines into shots: Select Treat standalone uppercase lines as shots, so lines like
FURTHER ALONGbecome Shot elements instead of action. - Choose which characters to create: In the Characters list, deselect names that aren't real characters, such as group cues or off-screen voices, and correct any spelling. Names FilmKit isn't sure about show a check badge.
- Choose which places to create: In the Places list, deselect settings you don't want as places and rename the rest. Near-duplicates of another place start deselected.
- Link the text to the catalog: Select Link imported characters & places to link character cues, scene-heading places, and matching mentions in action and dialogue to their catalog entries.
- Turn uppercase lines into shots: Select Treat standalone uppercase lines as shots, so lines like
- Click Import.
Nothing is created until you click Import. The imported screenplay opens in the editor, and each character and place you kept becomes an entry in the project catalog. See Intro to characters, places, and items.
If FilmKit can't read the file, a message appears above the list. Make sure it's a valid Fountain, Final Draft, or PDF screenplay, then try again.
Rename a screenplay
- In the Screenplays list, click the More button on the screenplay, then choose Rename.
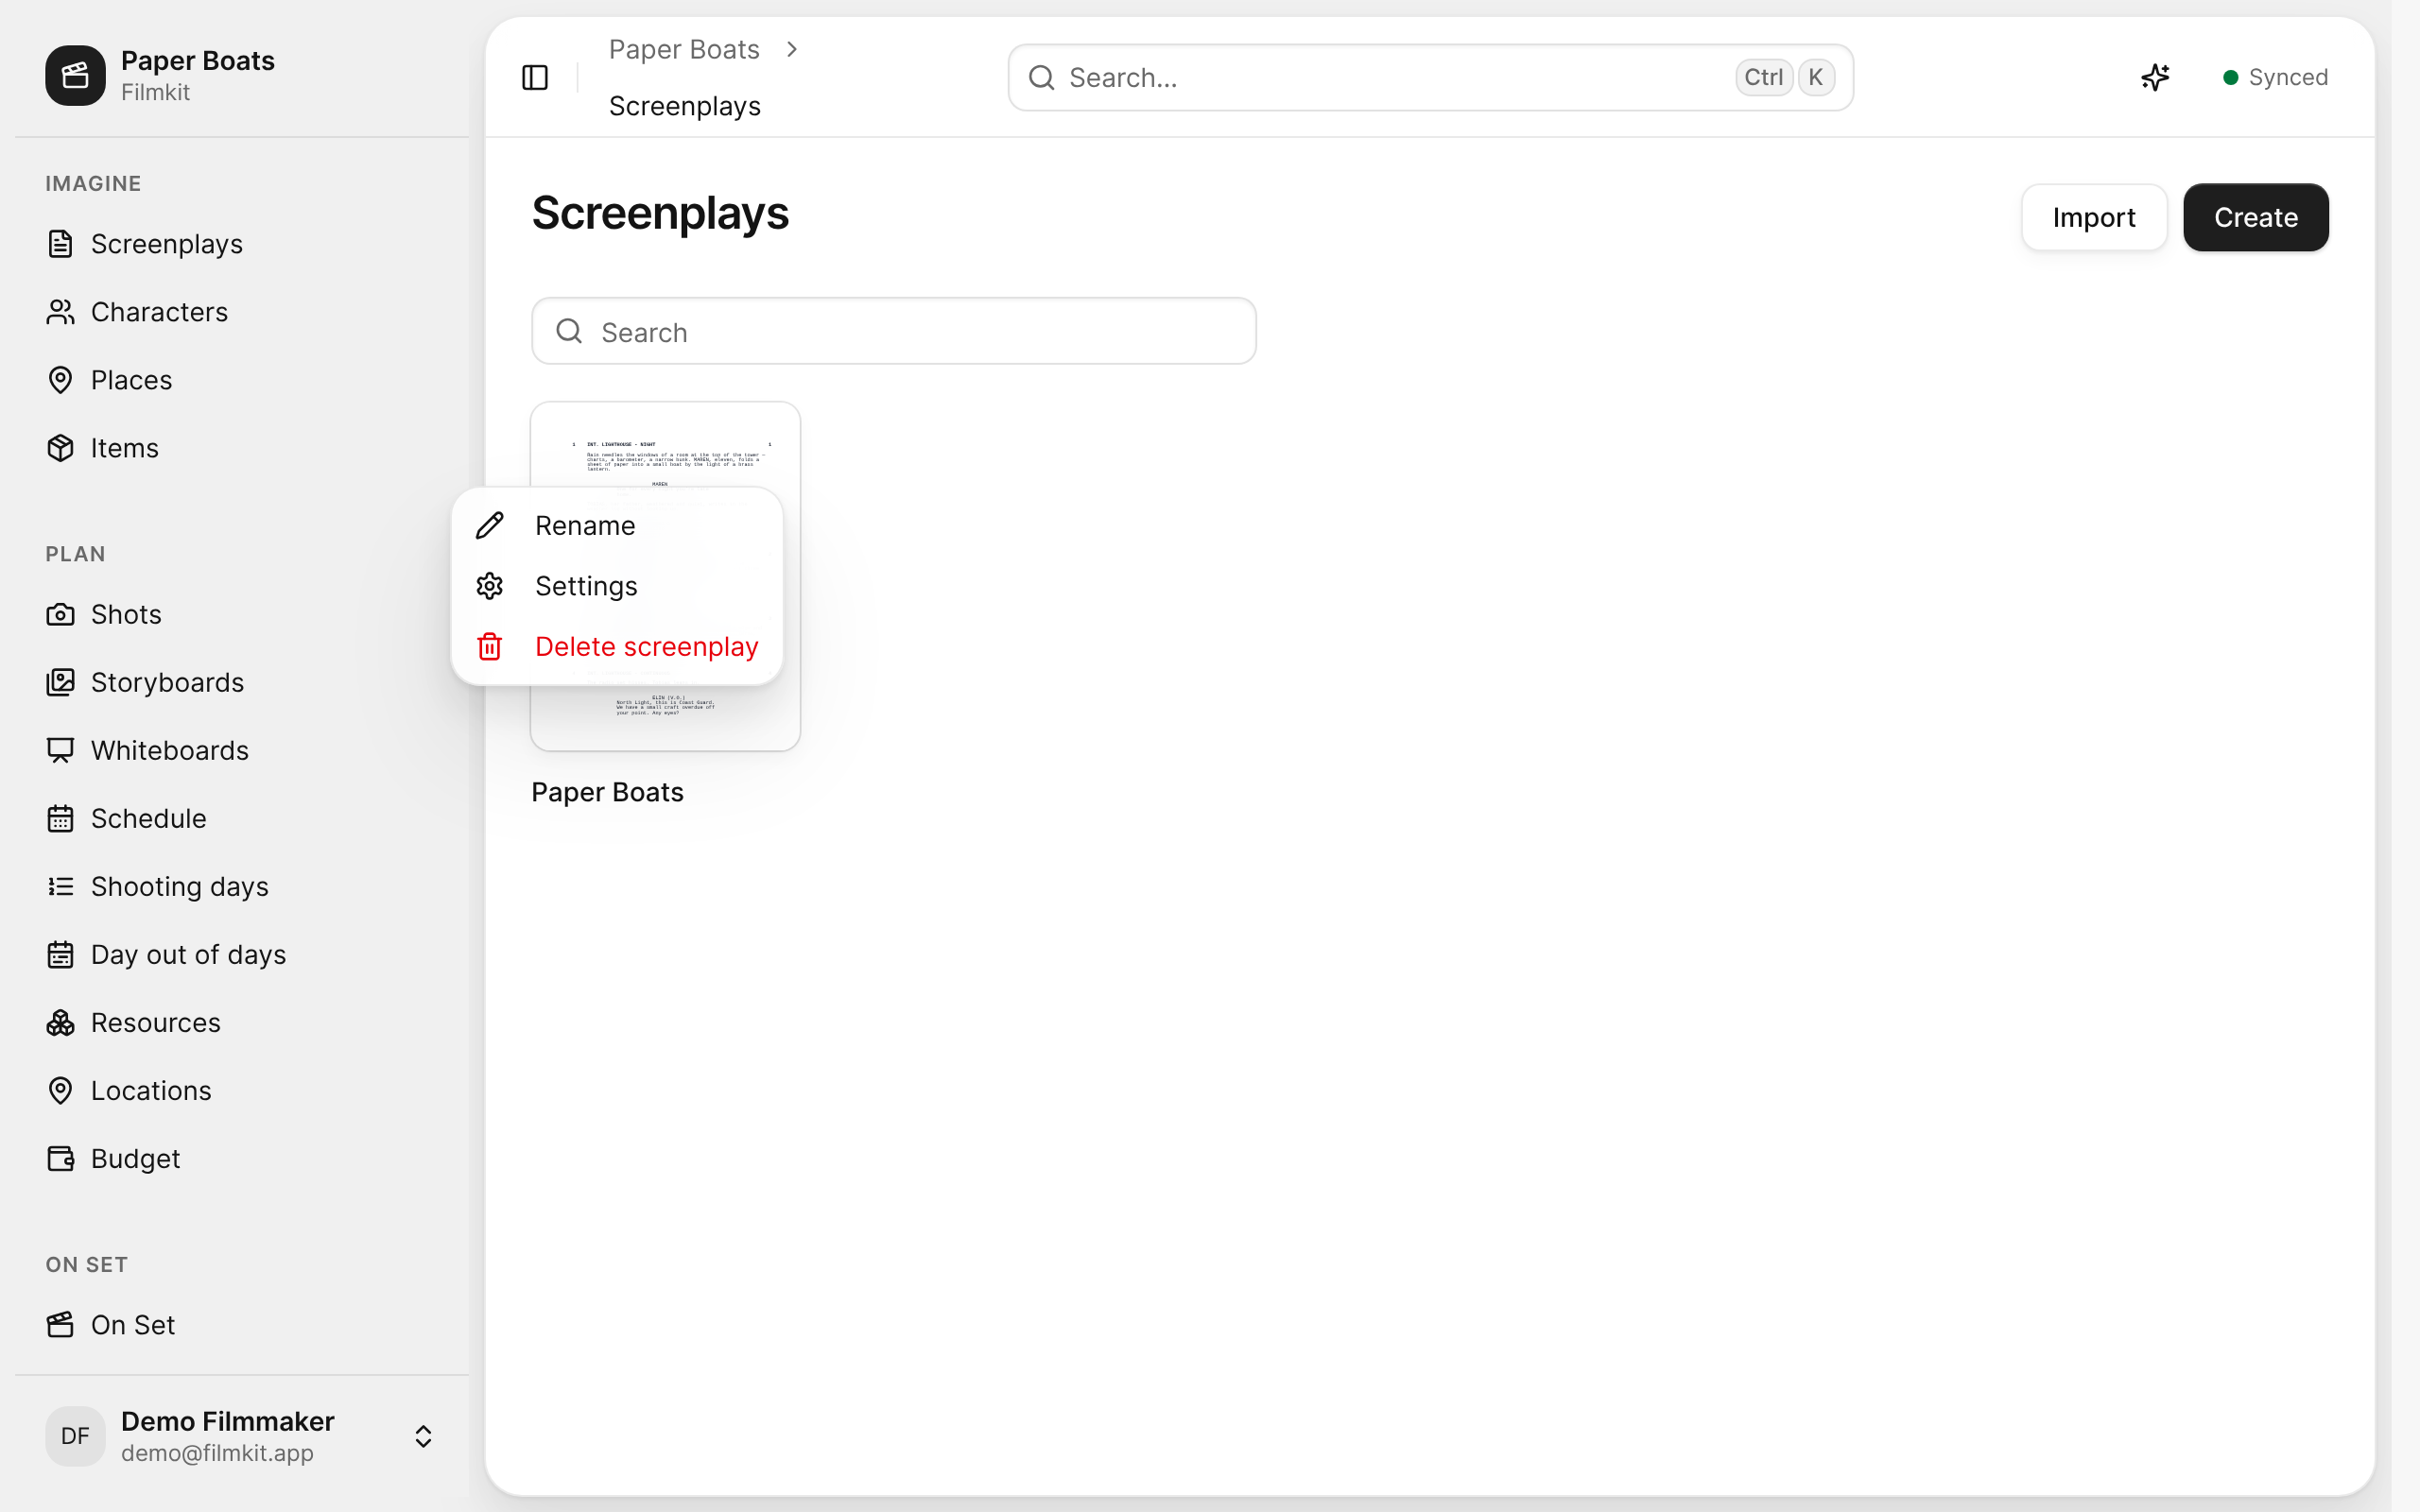
The actions menu for a screenplay, with Rename, Settings, and Delete screenplay. - Enter the new title, then click Save.

You can also change the title in the title field at the top left of the editor.
Delete or restore a screenplay
- In the Screenplays list, click on the screenplay, then choose Delete screenplay.
- Click Delete screenplay to confirm.
The screenplay moves to the project's Trash.
To bring it back, restore it from the Trash. Restored screenplays keep their content. See Restore deleted items from the Trash.