Manage the address book
You can add the people you work with to your space's address book once and use them on every project. Each contact keeps their contact details, emergency contact, address, food preferences, and availability.
Open the address book
Do one of the following:
- From a space: In the sidebar, click Address Book.
- From a project: In the sidebar, under People, click Address Book.
The Contacts list shows each person's name, email, phone, and company. To find someone, enter a name in the search field above the list. A Linked badge marks contacts who are linked to a FilmKit account.
Add a contact
- In the address book, click New contact.
- In the Create contact dialog, enter a First name, a Last name, or both.
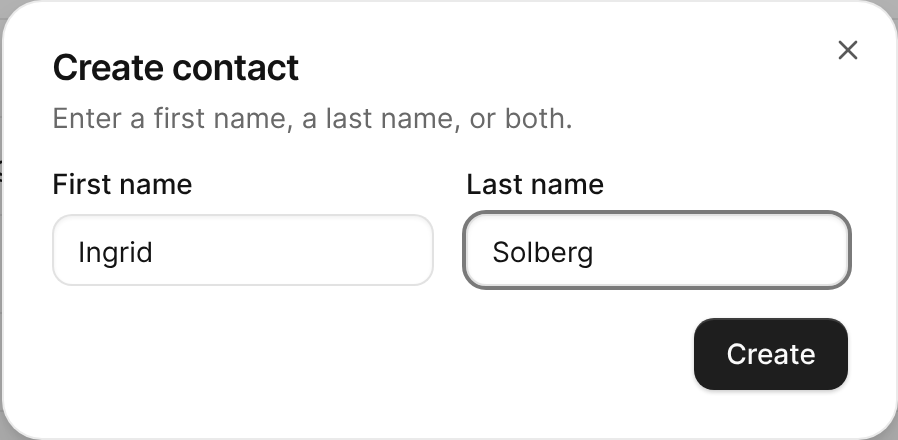
The Create contact dialog with a first and last name entered. - Click Create.
The contact's detail page opens so you can add the rest of their details.

Edit a contact's details
- In the address book, click the contact.
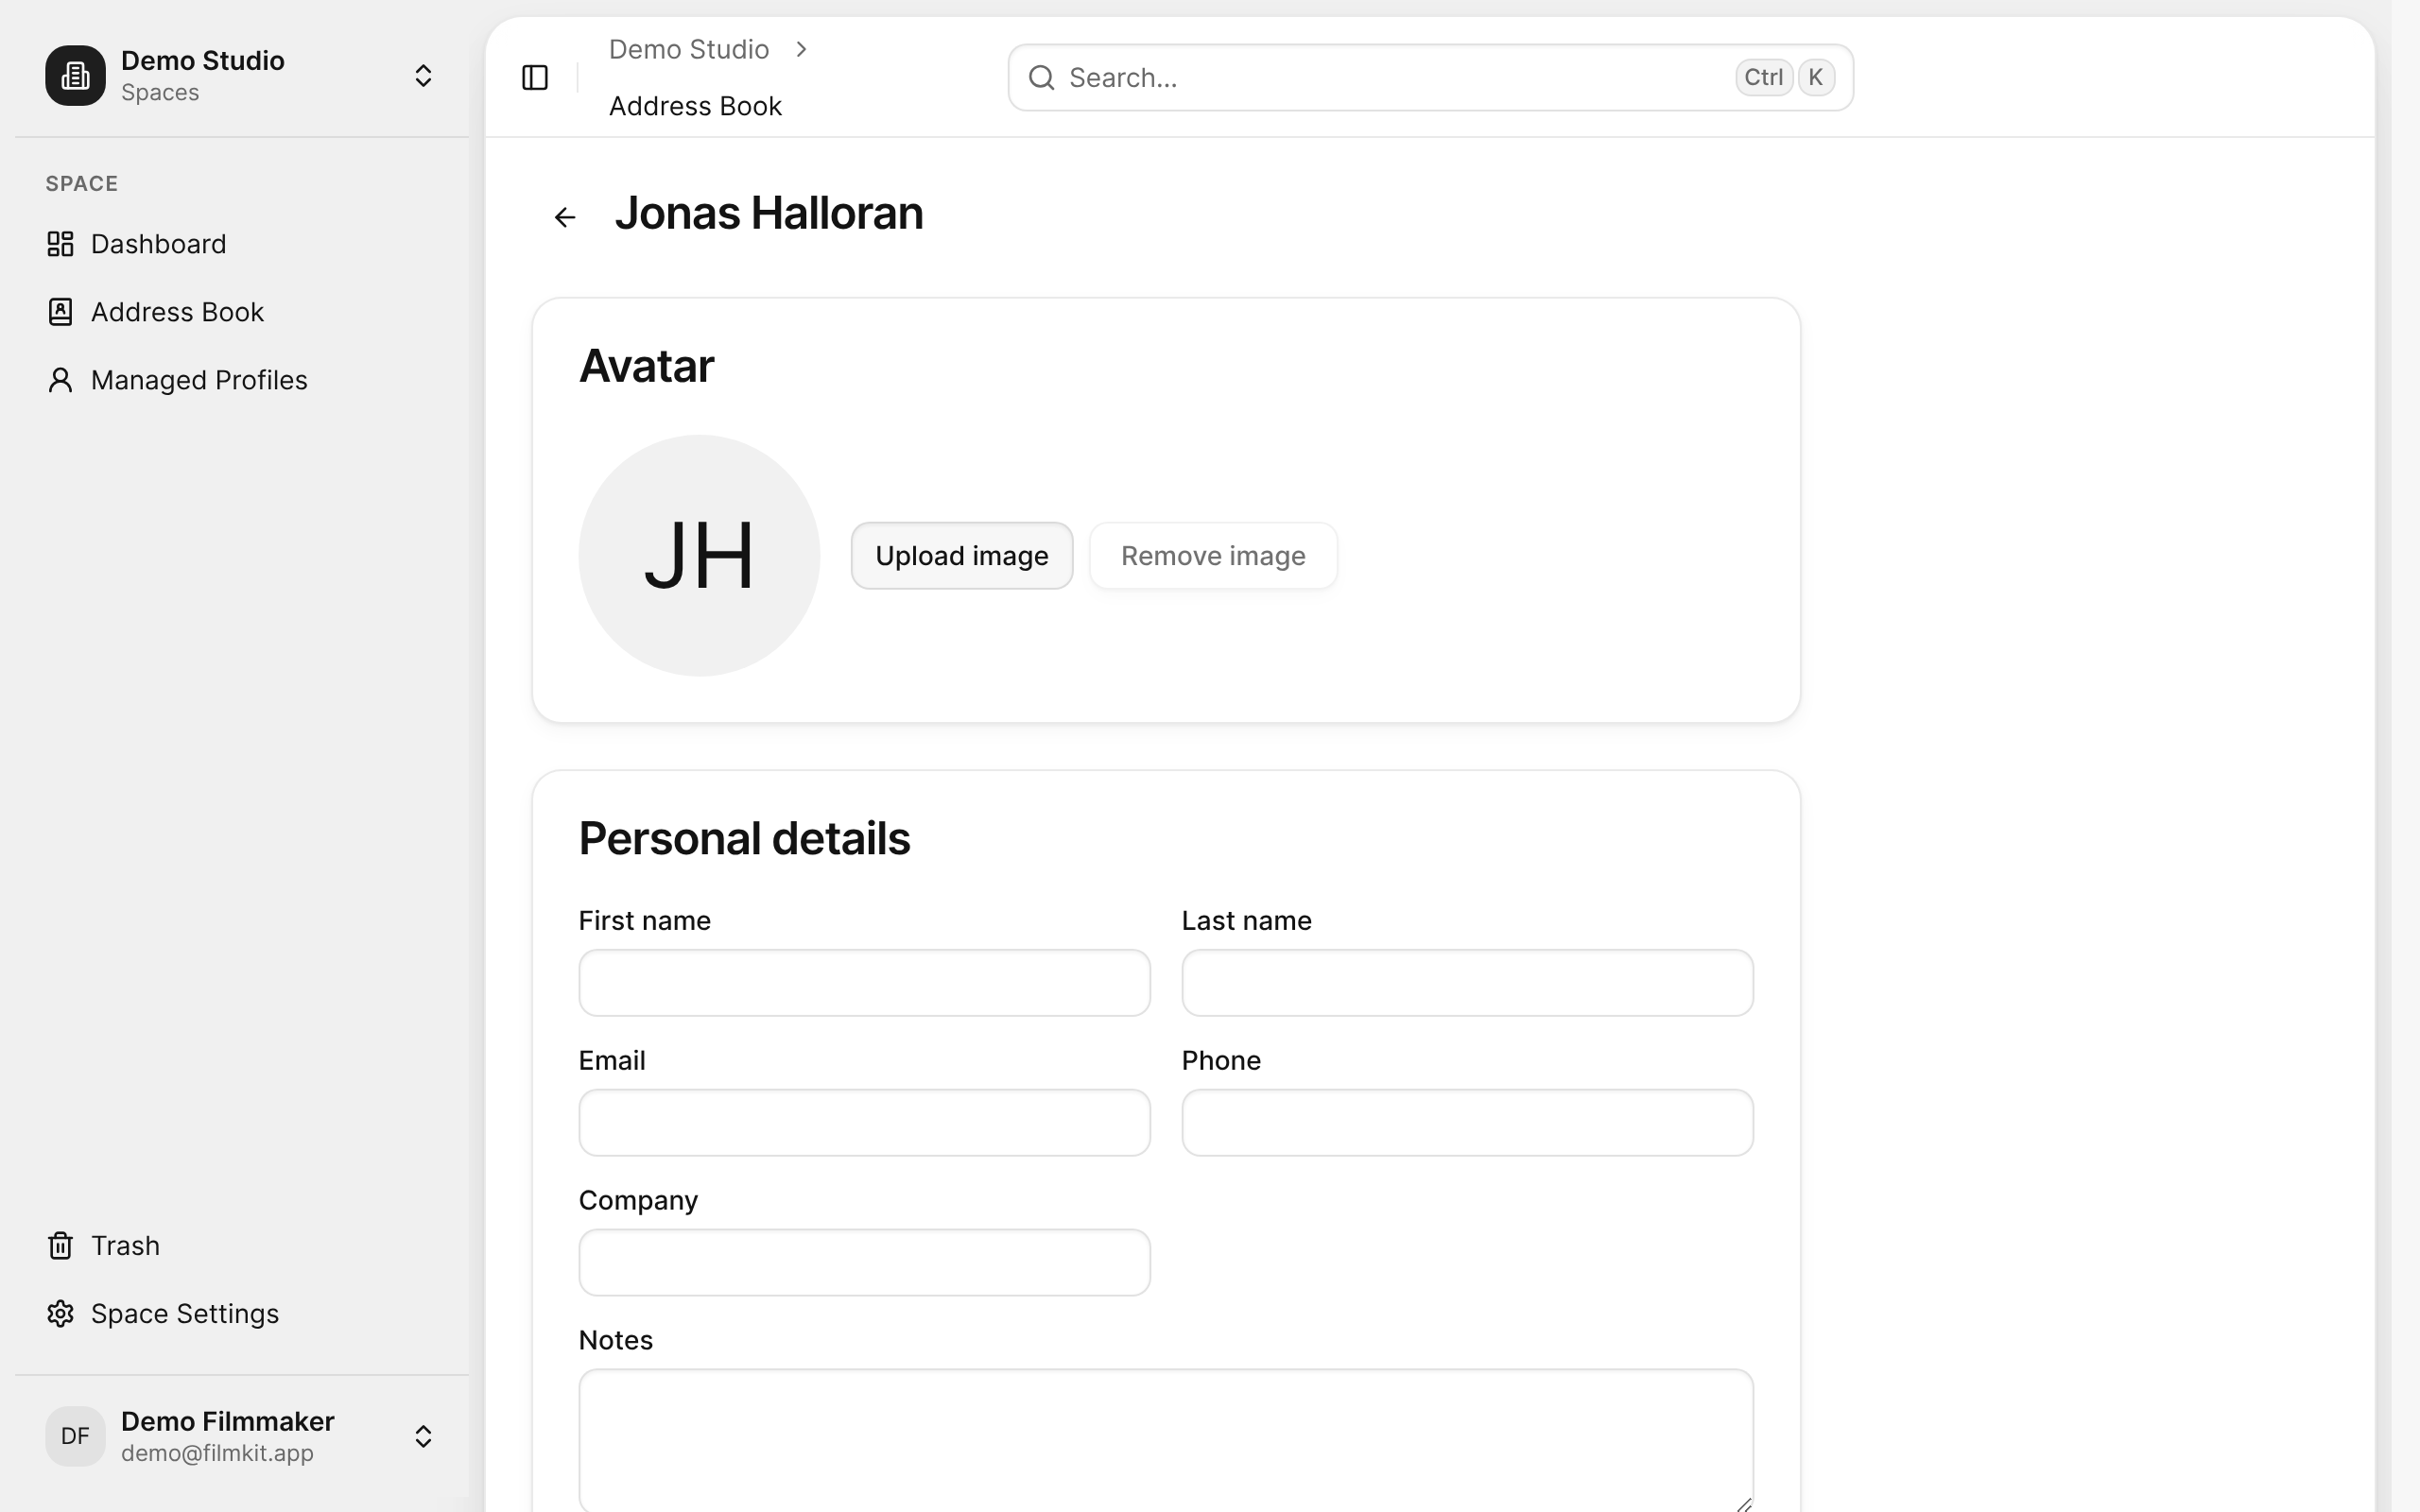
A contact's detail page with the Avatar and Personal details cards. - Do any of the following:
- Add a photo: In the Avatar card, click Upload image, then choose a PNG, JPEG, or WebP file. To take it off, click Remove image.
- Change contact details: In Personal details, edit the First name, Last name, Email, Phone, Company, or Notes.
- Add an emergency contact: In Emergency contact, enter the Emergency contact name and Emergency contact phone.
- Add an address: In Address, enter the Street, Zip, and City, then choose a Country.
- Record food preferences: In Food preferences, select any of Vegetarian, Vegan, Gluten-Free, Lactose-Free, Halal, or Kosher.
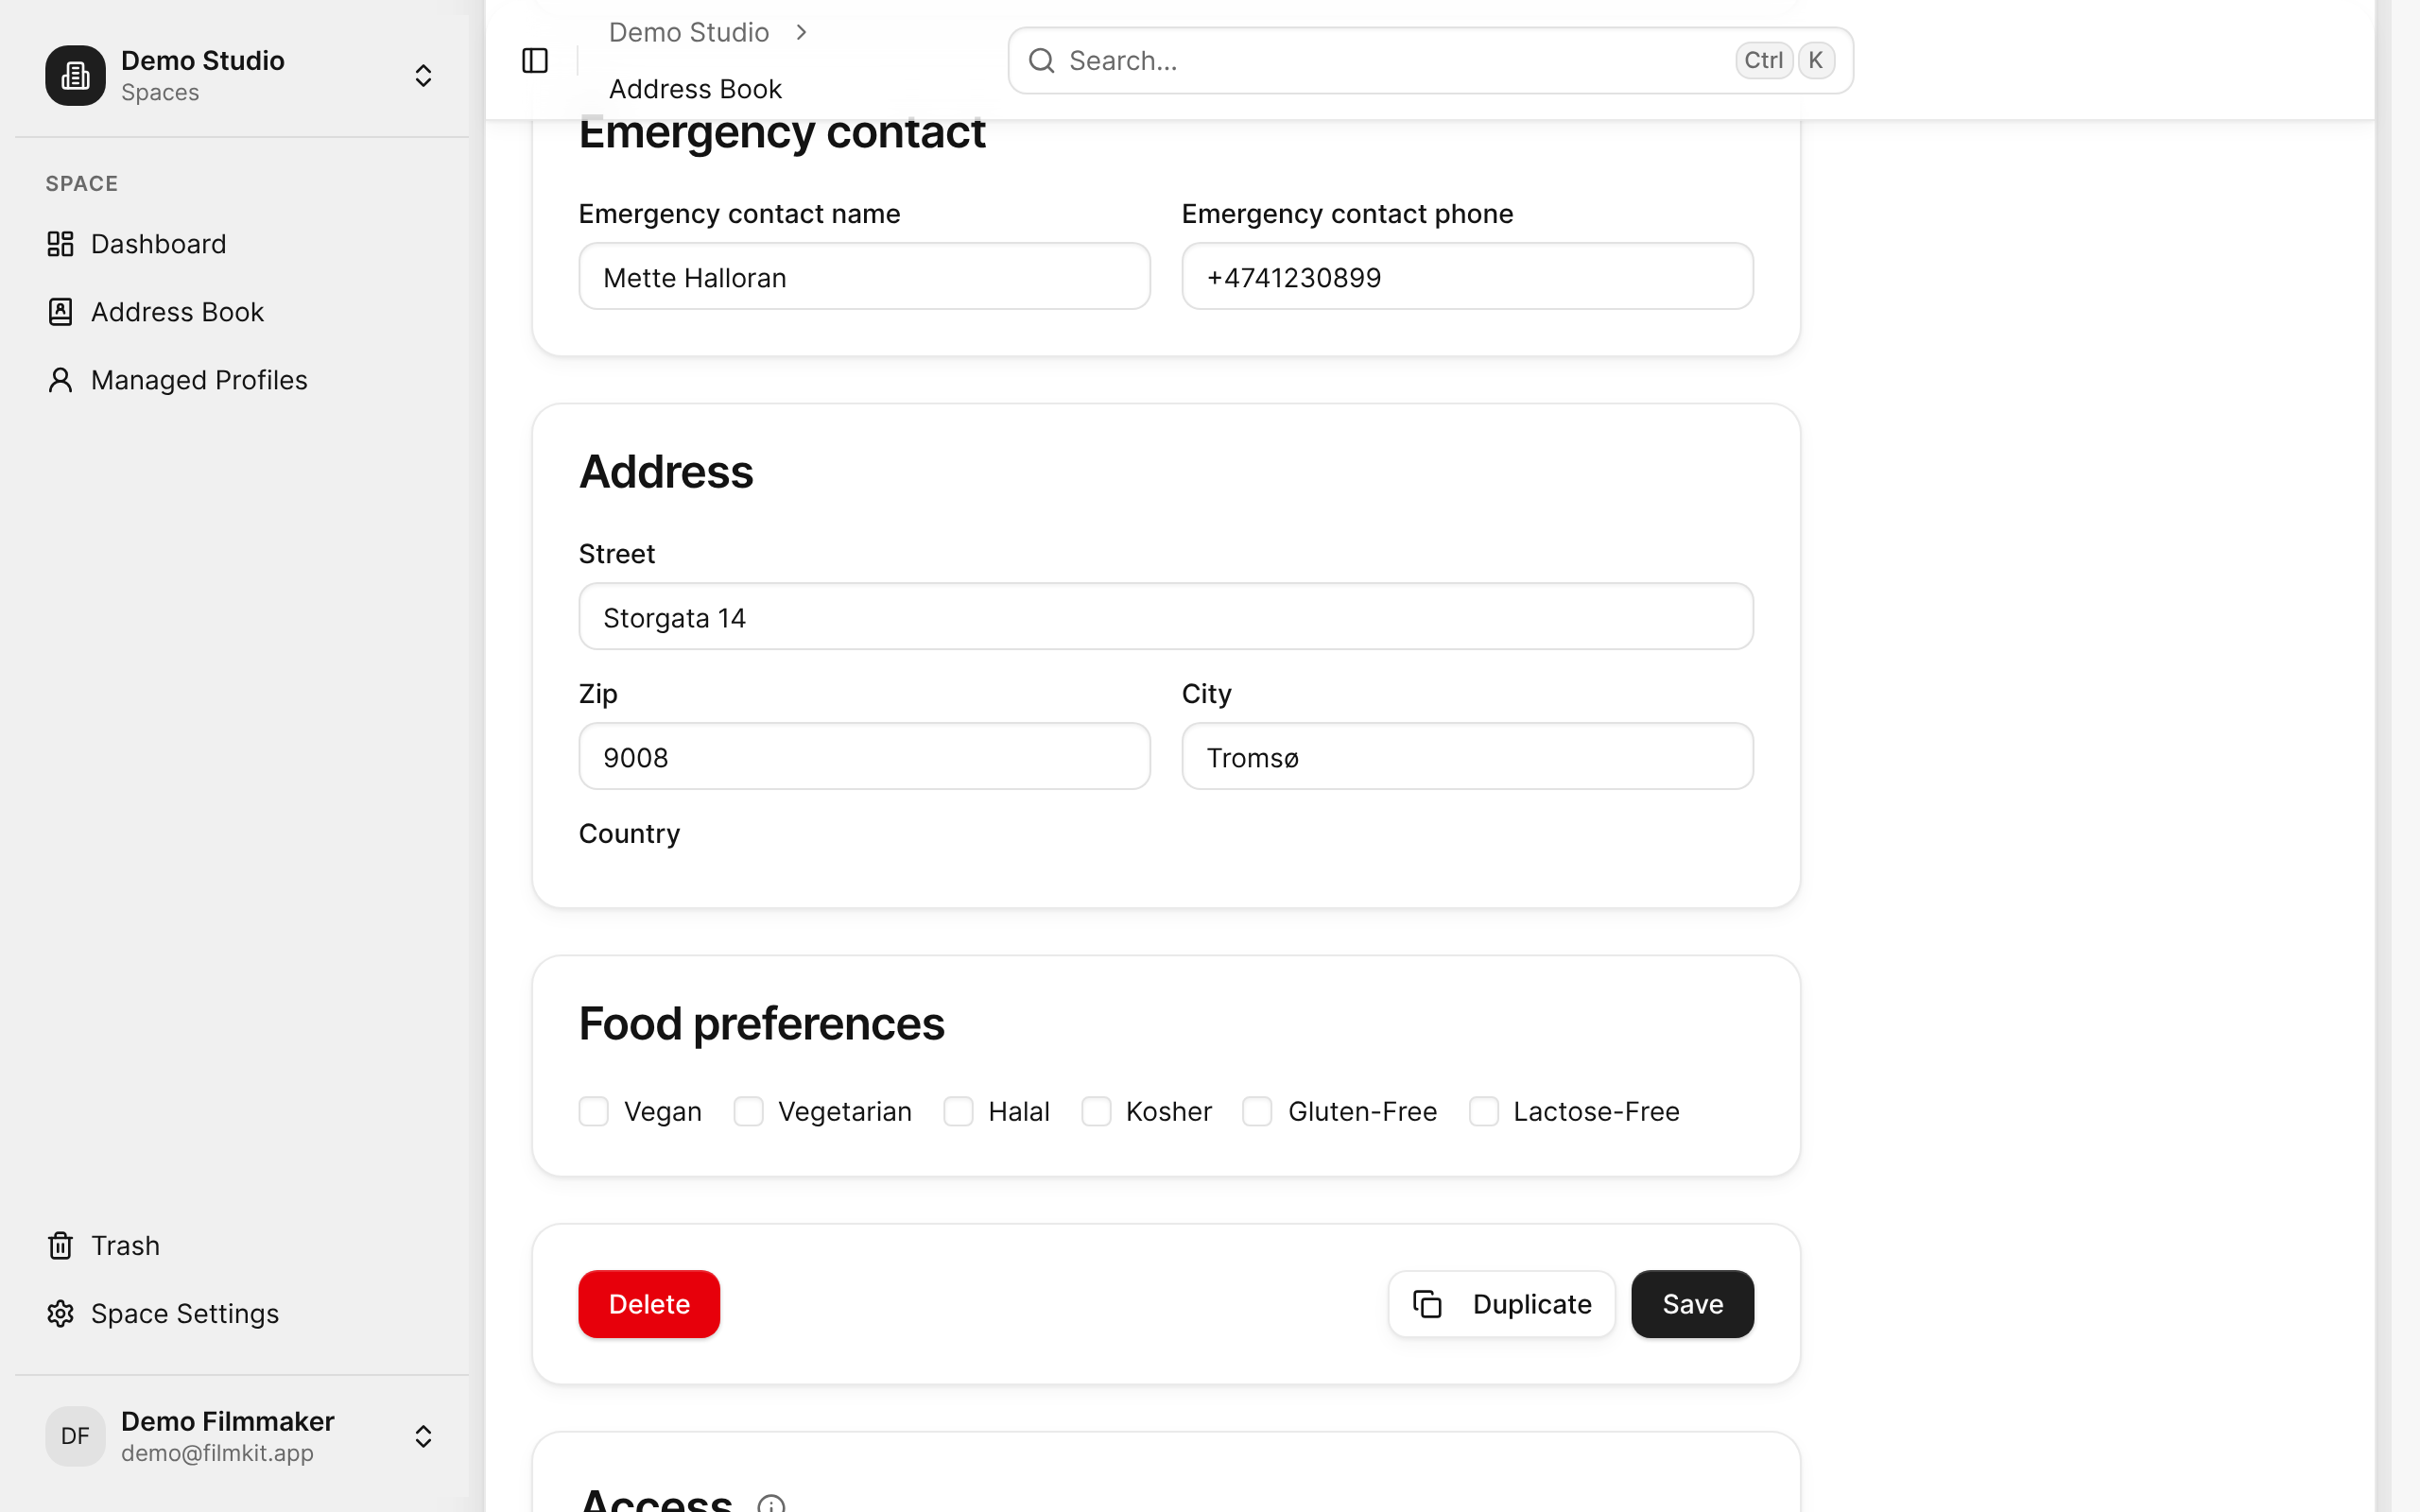
The Emergency contact, Address, and Food preferences cards on a contact's page. - Click Save.


Record availability
- On the contact's detail page, scroll to the Availability card, then click Add window.
- Enter the From and To dates.
- Choose a Status:
- Available: The person is free on these dates.
- Booked: The person is committed elsewhere.
- Hold: The dates are reserved but not confirmed.
- Unavailable: The person can't work these dates.
- Optionally enter a Note, then click Add window.
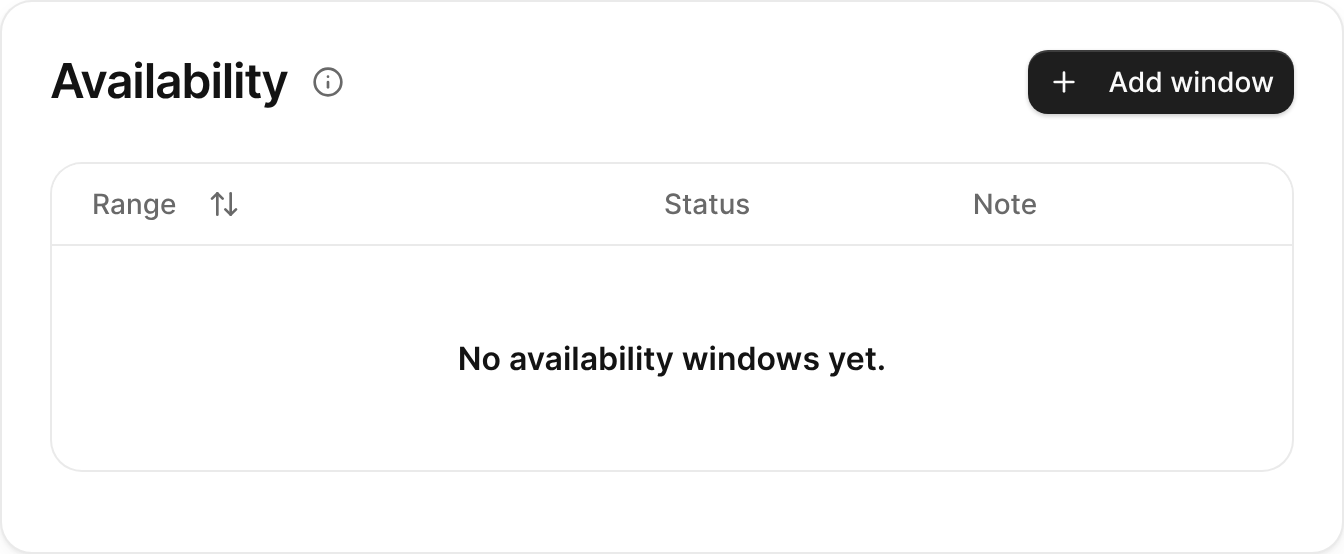
A contact's Availability card listing dated windows with their status.

To change a window, click the Edit button in its row. To delete it, click the Remove button , then click Remove window. The scheduler flags shooting days that fall in a Hold or Unavailable window.
Duplicate a contact
On the contact's detail page, click .
A copy of the contact opens, ready for you to change the name and details.
Delete and restore a contact
- On the contact's detail page, click Delete.
- In the Delete contact dialog, click Delete.
A deleted contact is hidden from the address book, project rosters, crew access, and public links. To bring it back, open the space, click Trash in the sidebar, then click next to the contact. Restoring also restores the contact's project assignments. See Restore deleted items from the Trash.