Connect an AI client
You can connect an AI client you already use, such as Claude, to FilmKit. The client can then read your projects and work on them with the permissions you approve. Any client that supports the Model Context Protocol (MCP) with Streamable HTTP and OAuth sign-in works.
Copy the FilmKit server address
- Click your name at the bottom of the sidebar, then choose Connected AI.
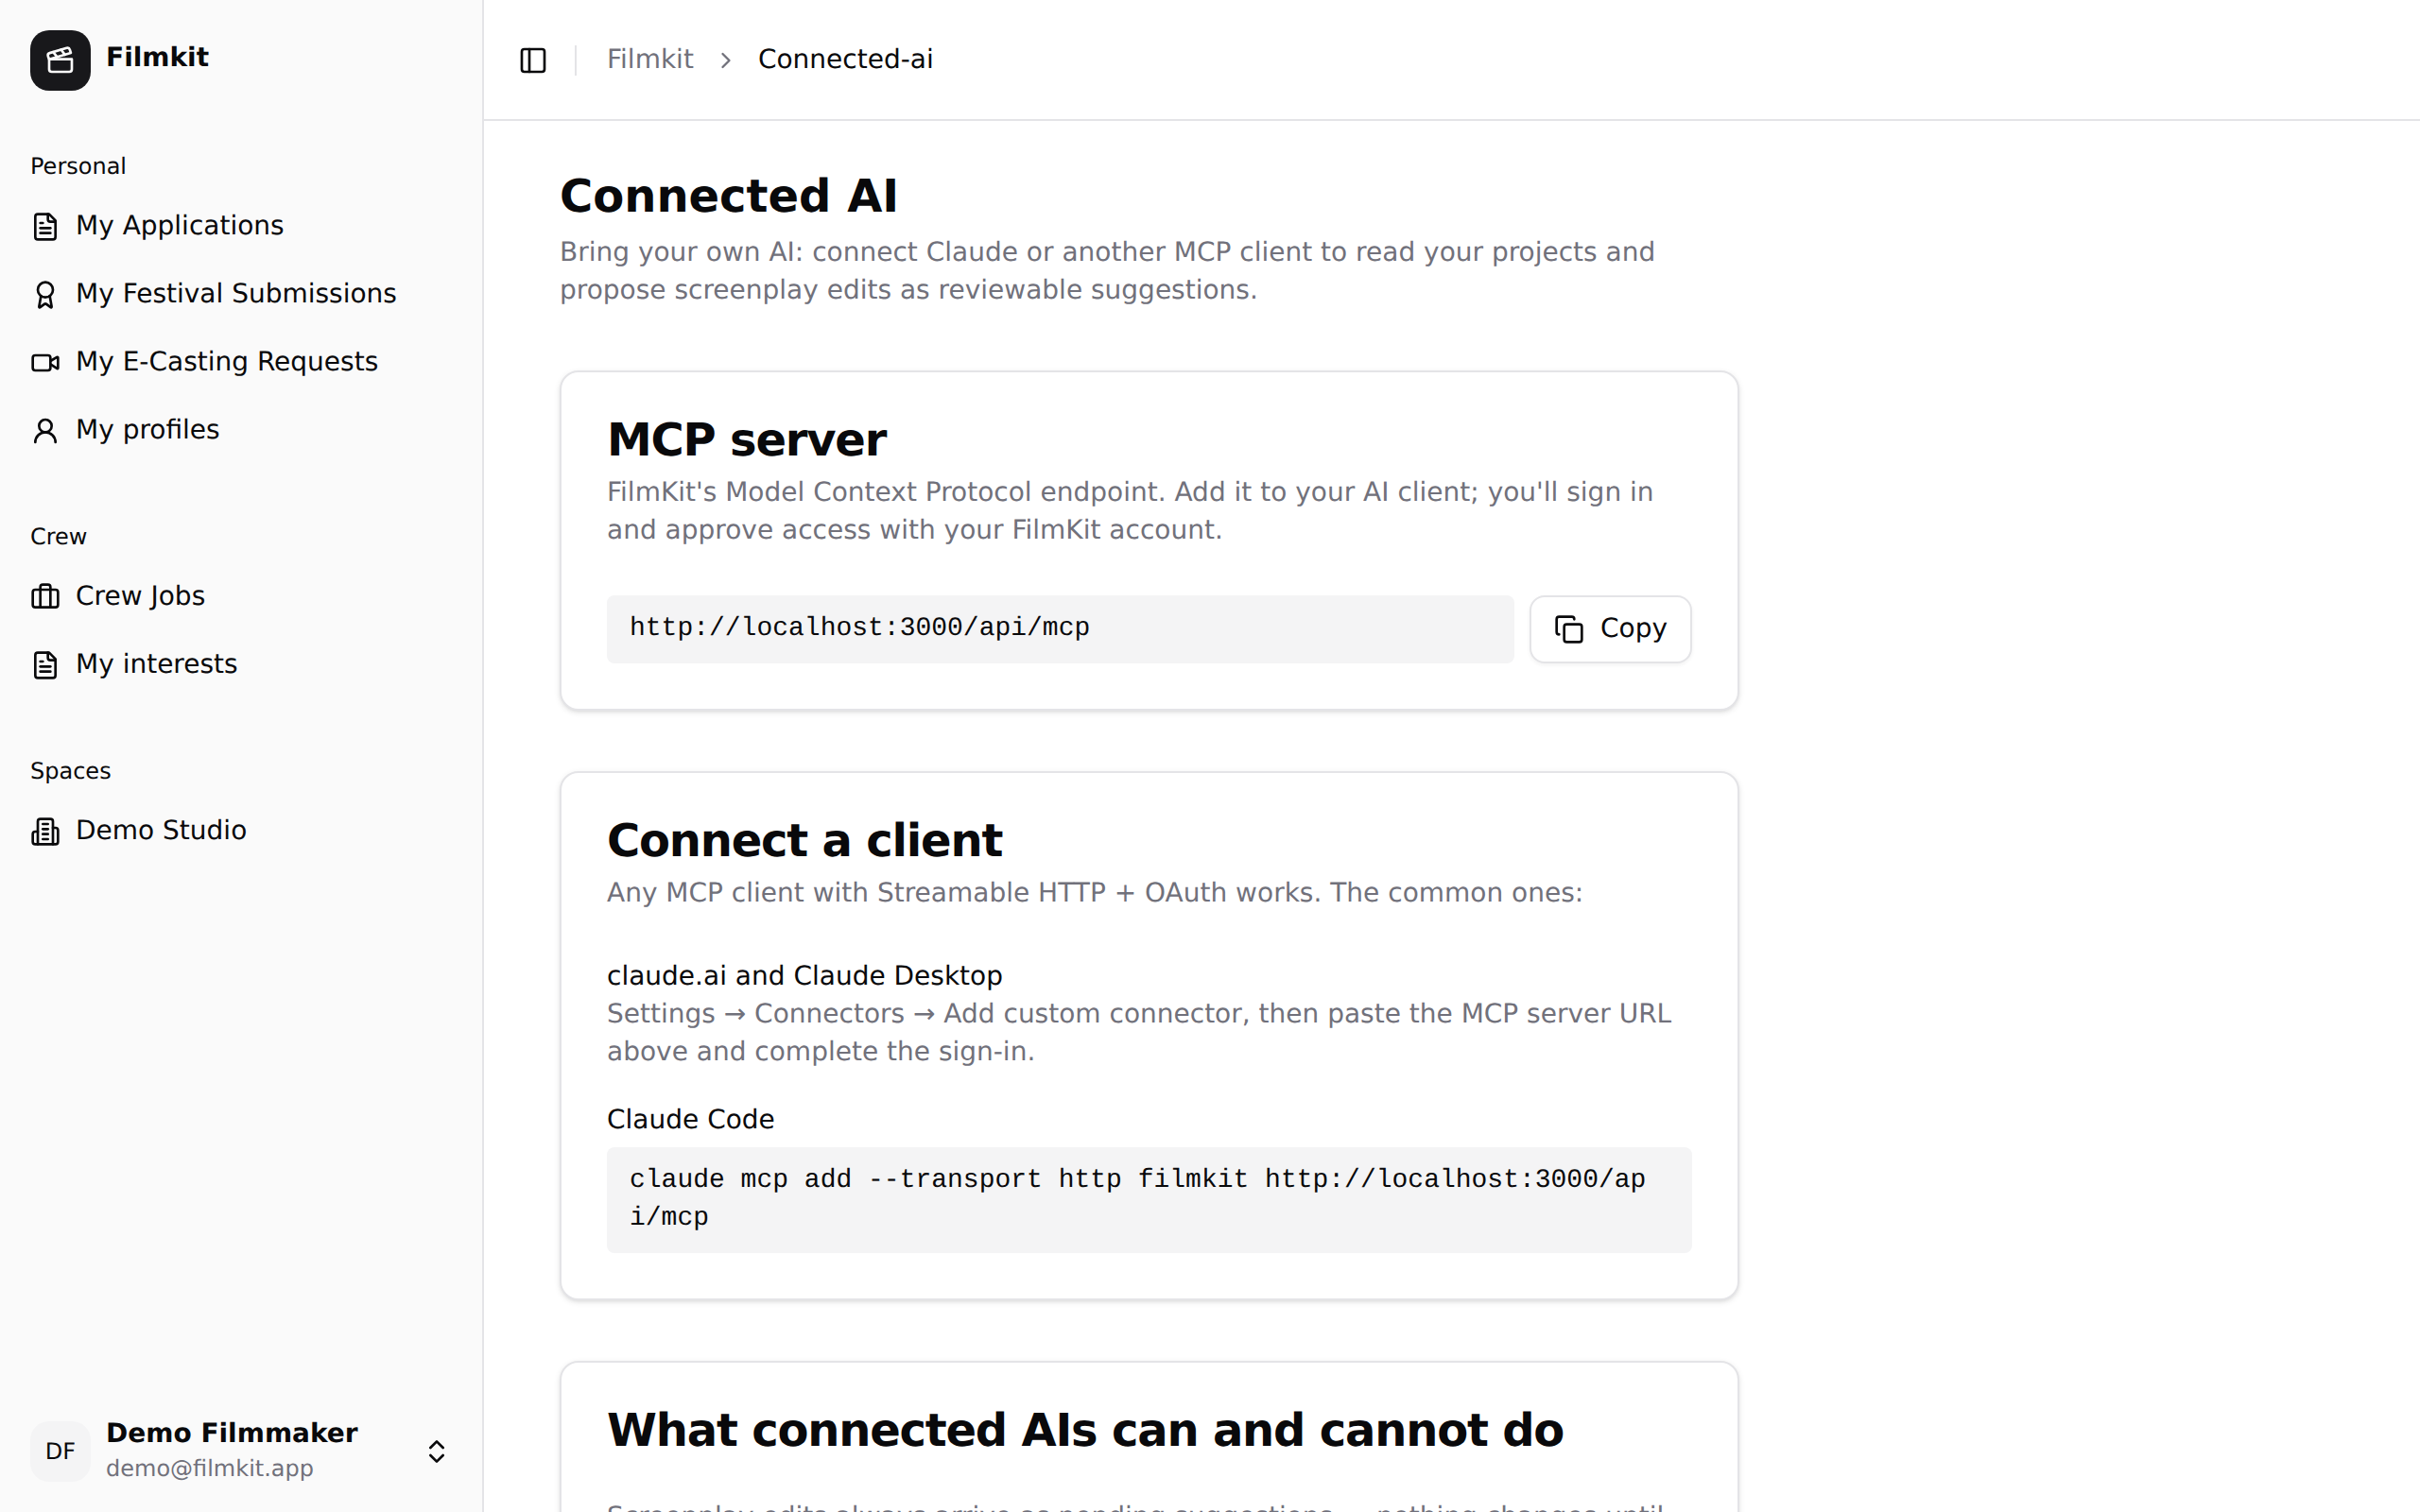
The Connected AI page with the MCP server address and setup steps for common AI clients. - In the MCP server section, click .

The Connect a client section on this page shows the setup for common clients.
Add FilmKit to your AI client
Do one of the following:
- claude.ai and Claude Desktop: In Claude, go to Settings > Connectors, choose Add custom connector, then paste the server address.
- Claude Code: Run the command shown on the Connected AI page. It looks like
claude mcp add --transport http filmkit <server address>. - Another MCP client: Add the server address as a remote MCP server, following the client's own instructions.
Sign in and approve access
When the client connects for the first time, it opens FilmKit in your browser.
- On the Connect your AI page, click Sign in with passkey.
If you're already signed in, click Continue to your AI client. - On the Authorize access page, review the Permissions requested.
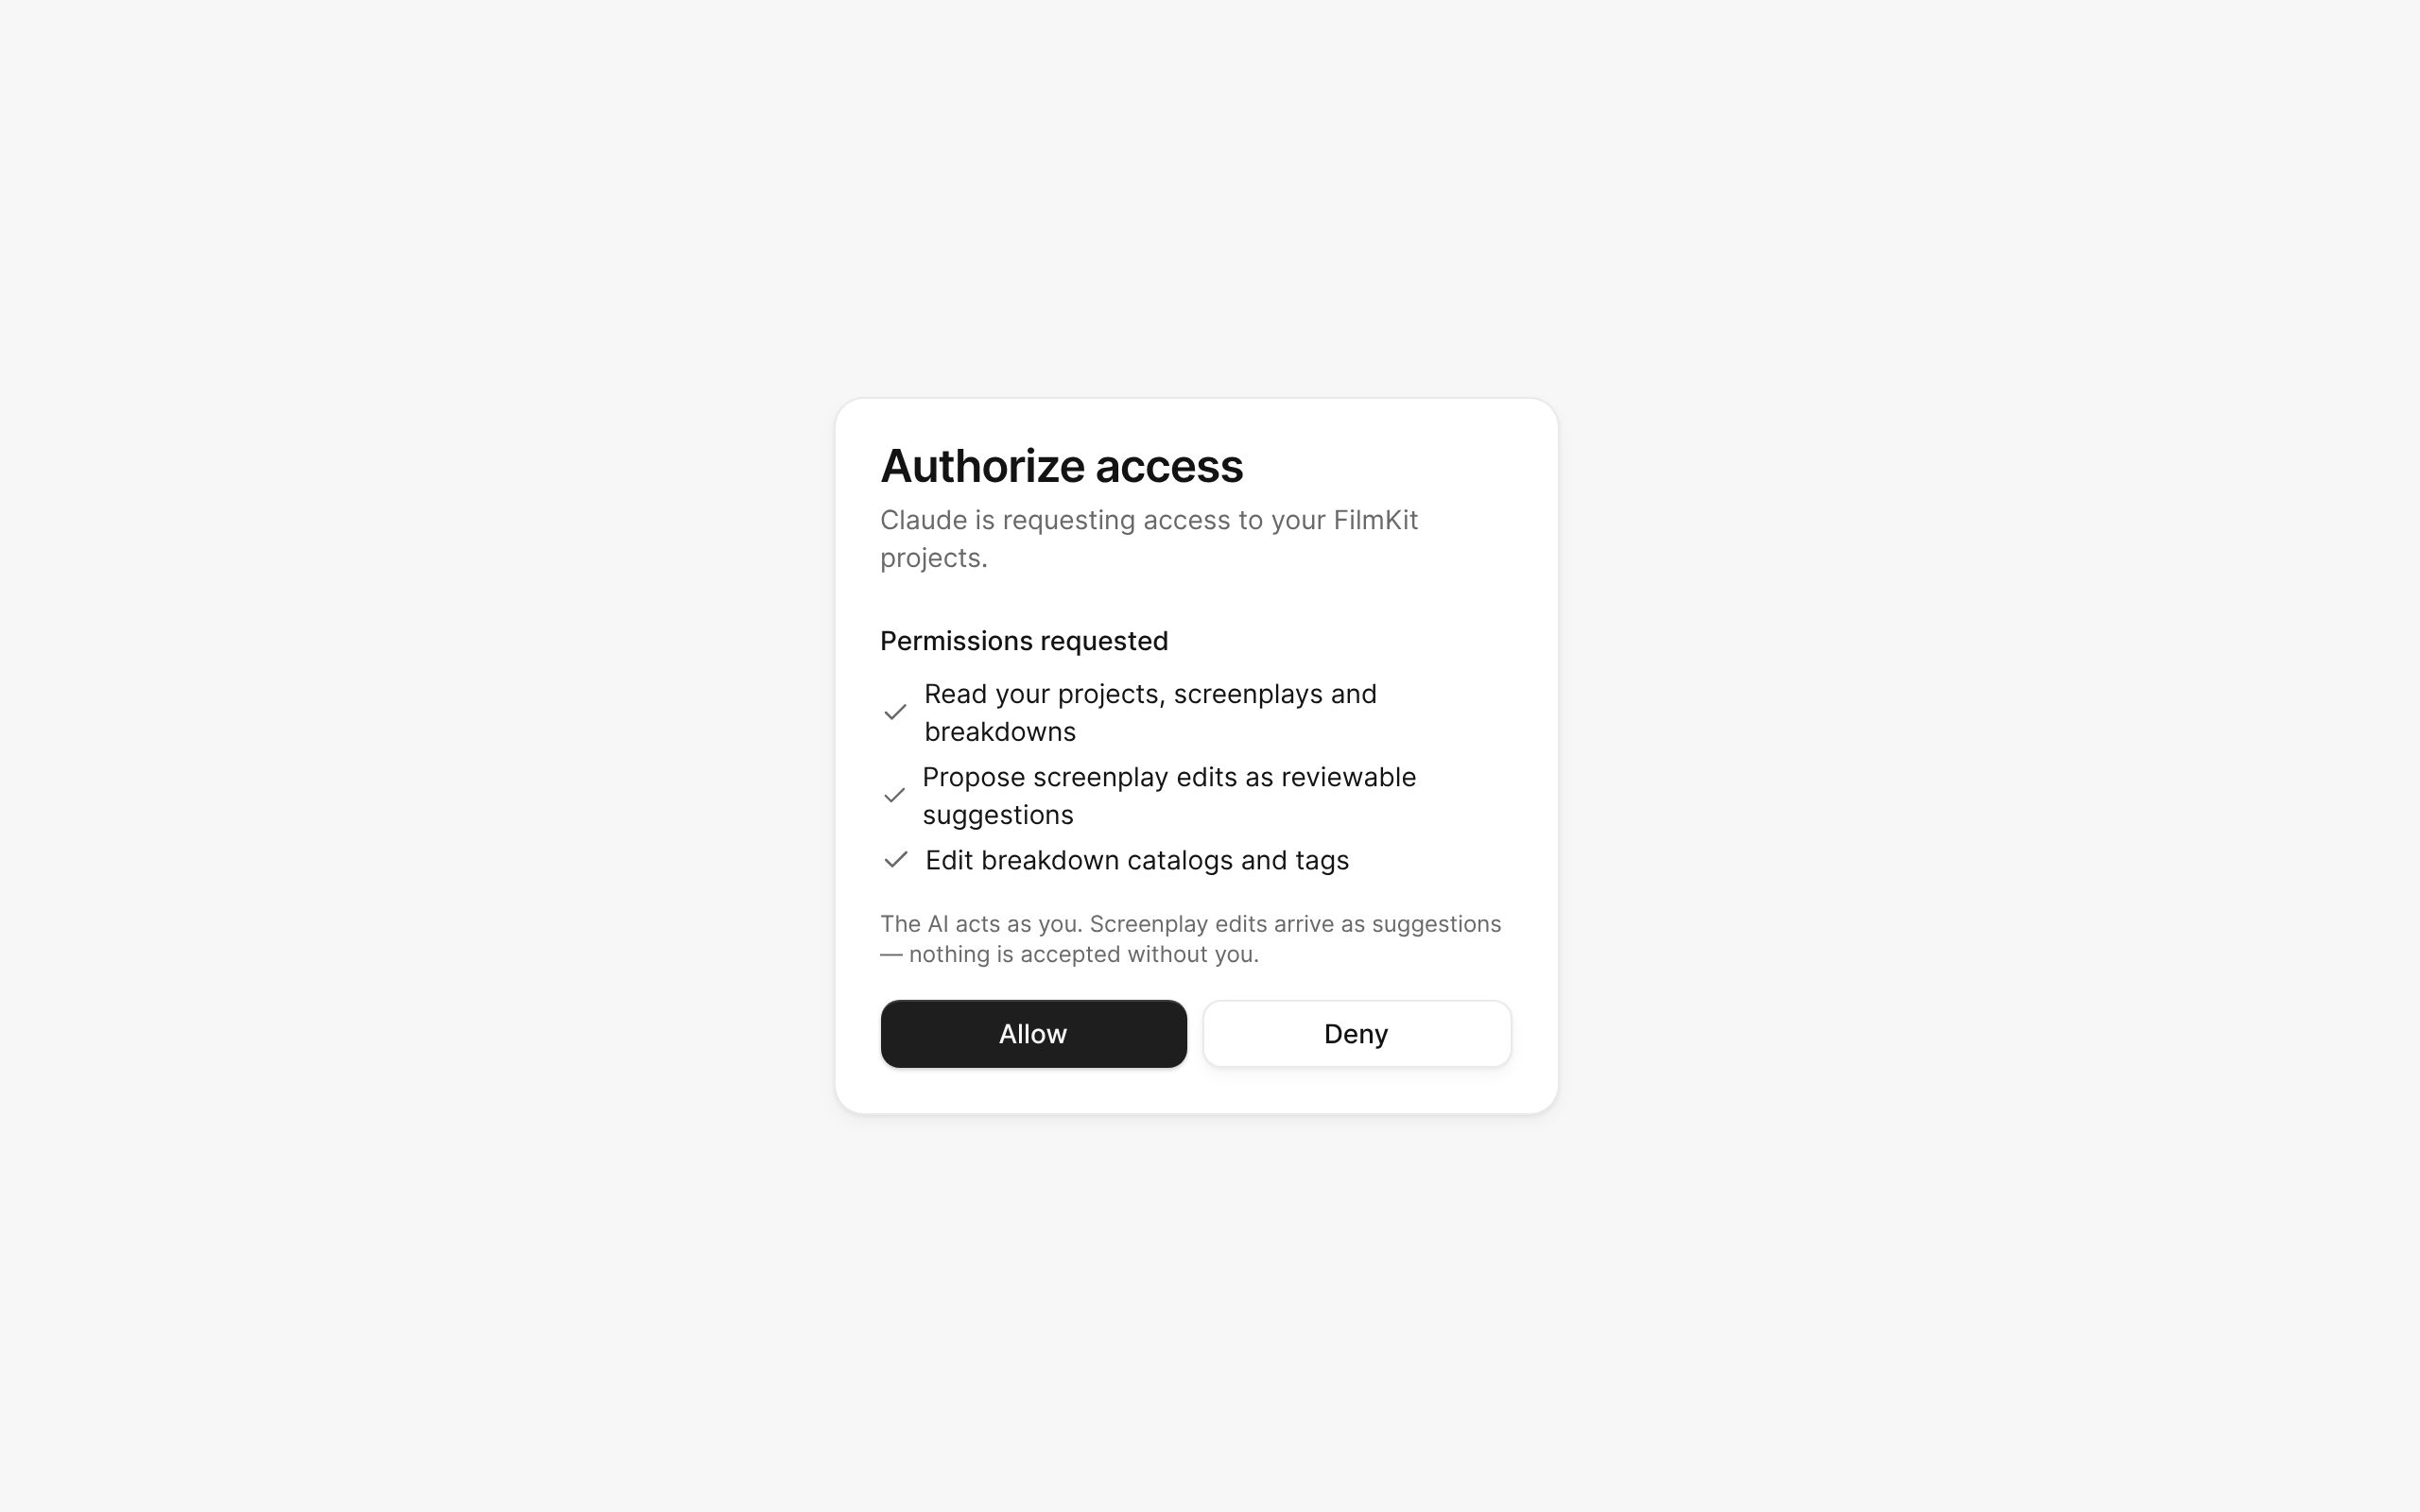
The Authorize access screen listing the permissions an AI client requests.
A client can ask for any of these permissions:- Read your projects, screenplays and breakdowns: Read projects, scenes, characters, schedules, and comments, and search.
- Propose screenplay edits as reviewable suggestions: Suggest changes to the screenplay and reply to comments.
- Edit breakdown catalogs and tags: Add and update characters, places, items, and storyboards, and tag where they appear.
- Edit the shooting schedule: boards, days, events and callsheets: Change the schedule.
- Edit casting roles' e-casting request forms: Add, change, reorder, and remove the fields of a role's e-casting form.
- Control cameras on set (queue REC, exposure and slate commands that a crew member's connected device executes): Operate cameras through the On Set camera controls.
- Generate images: Create storyboard frames and character references. This uses your space's AI credits.
- Click Allow, or click Deny to refuse.
- Click Continue to your AI client if your browser doesn't return to the client automatically.

The client now appears under Authorized clients on the Connected AI page.